Passkey Biometric Authentication
1. What is a Passkey?
A passkey is a more secure and easy-to-use digital authentication method that users can use instead of or in addition to a password during the authentication process. It is typically implemented through hardware security keys (like YubiKey), biometric verification (fingerprint, facial recognition), or mobile applications. Please check out the passwordless-lib/fido2-net-lib repository for more information. Additionally, I have added some code—feel free to review my PR
2. Using a Passkey in Application
- Account Creation and Verification: Encouraging users to create a passkey during account creation can improve security. Users can set up biometric verification or security keys while creating their accounts.
- Login Process: Using a passkey for logging in enables users to complete the authentication process more quickly and securely. Users can access their accounts with biometric verification or a security key without entering a password.
Passkey Registration and Login using WebAuthn API
The WebAuthn API allows web applications to register and authenticate users with strong cryptographic credentials, such as hardware tokens or biometrics. This enables a more secure and user-friendly alternative to passwords.
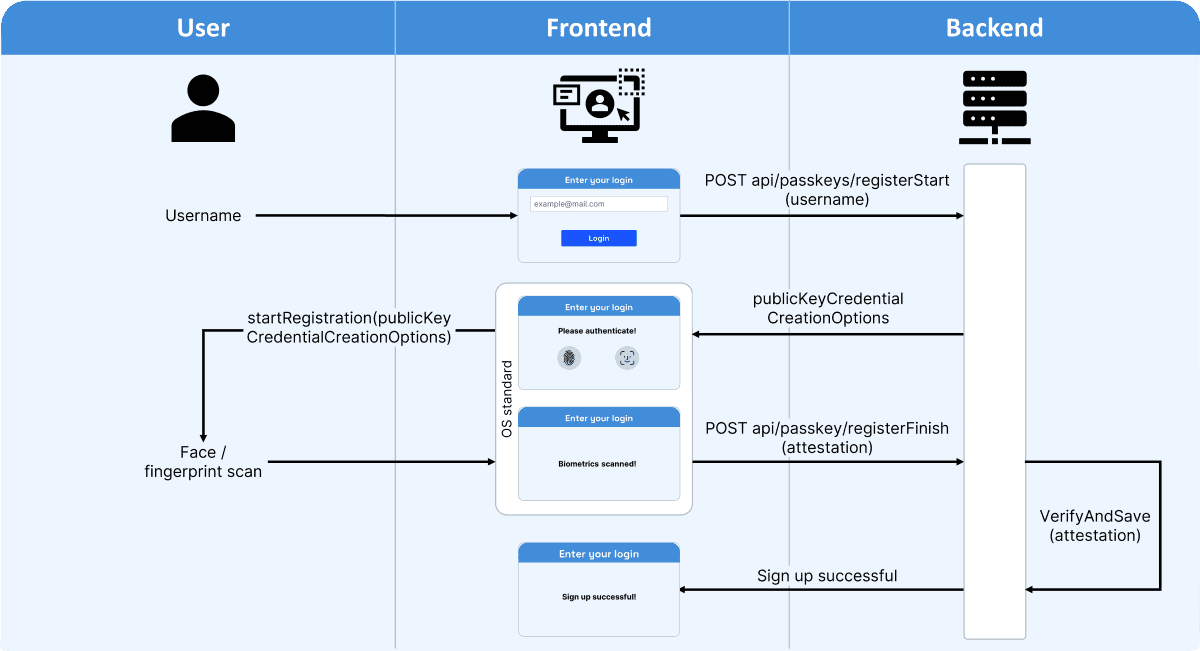
1. Passkey Registration navigator.credentials.create
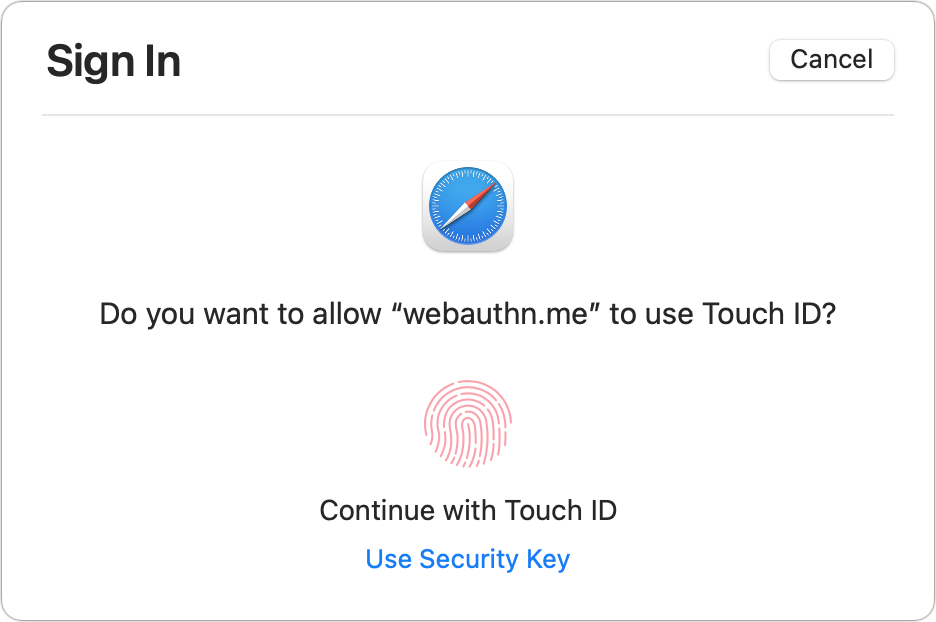
In this step, the user will register their device by creating a new credential. This typically involves biometric authentication (e.g., fingerprint or face recognition) or a hardware security key.
Example: Passkey Registration
async function registerPasskey() {
  try {
    const publicKey = {
      challenge: new Uint8Array([/* server-generated challenge */]),
      rp: {
        name: "Example WebApp",
      },
      user: {
        id: new TextEncoder().encode("user@example.com"),  // User identifier
        name: "user@example.com",
        displayName: "User Name",
      },
      pubKeyCredParams: [{
        type: "public-key",
        alg: -7, // ECDSA with SHA-256
      }],
      timeout: 60000,
    };

    const credential = await navigator.credentials.create({
      publicKey,
    });

    // Send the credential to your server to store it for later authentication
    console.log('Passkey registration successful:', credential);

    // Example: send the credential to your backend to store
    await fetch('/api/register', {
      method: 'POST',
      body: JSON.stringify({ credential }),
      headers: { 'Content-Type': 'application/json' },
    });
  } catch (err) {
    console.error('Error during passkey registration:', err);
  }
}

registerPasskey();
Explanation: • navigator.credentials.create(): This method requests the creation of a new credential. • challenge: A cryptographically random value generated by the server to prevent replay attacks. • user: Information about the user, including their unique identifier. • pubKeyCredParams: Defines the public key algorithm to use (e.g., -7 for ECDSA with SHA-256). • timeout: Defines how long the registration process will wait for user input (e.g., biometric scan or hardware key).
Once the registration is successful, the credential object is returned and can be sent to your server for storage.
2. Passkey Login navigator.credentials.get
In this step, the user logs in by authenticating with their registered device (e.g., using their fingerprint, facial recognition, or security key).
async function loginPasskey() {
  try {
    const publicKey = {
      challenge: new Uint8Array([/* server-generated challenge */]),
      timeout: 60000,
    };

    const credential = await navigator.credentials.get({
      publicKey,
    });

    // Send the credential to your server to verify the authentication
    console.log('Passkey login successful:', credential);

    // Example: send the credential to your backend for verification
    await fetch('/api/login', {
      method: 'POST',
      body: JSON.stringify({ credential }),
      headers: { 'Content-Type': 'application/json' },
    });
  } catch (err) {
    console.error('Error during passkey login:', err);
  }
}

loginPasskey();
Explanation: • navigator.credentials.get(): This method retrieves the credential associated with the current user. • challenge: A cryptographically random value generated by the server to ensure the authenticity of the request. • timeout: Defines how long the login process will wait for user input (e.g., biometric scan or hardware key).
Once the login is successful, the credential object is returned and can be sent to your server for verification.
3. Integration with Server-Side
Both the registration and login processes involve sending the generated credentials to your server, where they are verified. Typically, the server stores the public key and verifies the signature created by the private key during authentication.
Server-side Tasks: • During registration, the server stores the public key and any associated metadata. • During login, the server verifies the signature of the returned credential with the stored public key.
4. Conclusion
Using the WebAuthn API, you can integrate passkey authentication into your web application, enabling a more secure and user-friendly login experience. The key steps involve creating credentials using navigator.credentials.create() and authenticating with navigator.credentials.get(), both of which provide strong cryptographic protection.